お問い合わせフォームに条件分岐で自動返信メールの内容を変更できる「Conditional Fields for Contact Form 7」が便利!
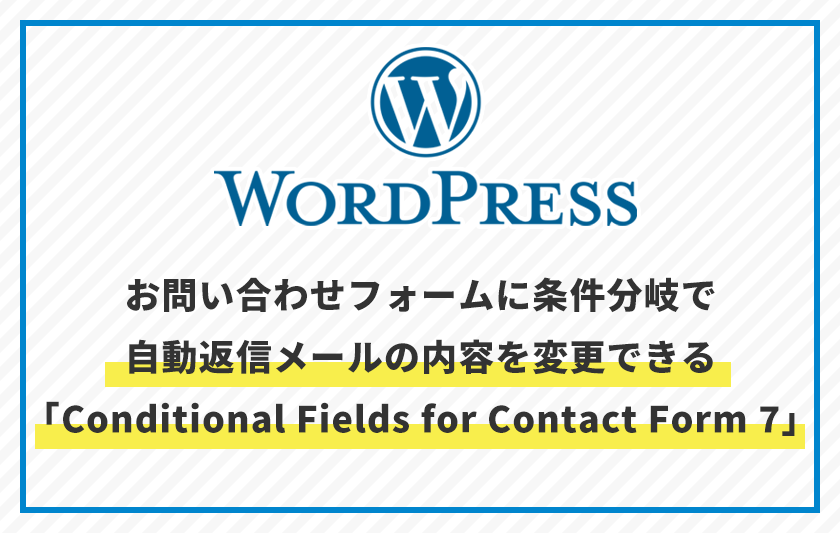
「Contact Form7」でお問い合わせフォームを作成する際に、自動返信メールの内容を条件分岐で切り替えられないかと思い探していると「Conditional Fields for Contact Form 7」という便利なプラグインを見つけました。
まずは「Conditional Fields for Contact Form 7」をインストール
まずはWordPress設定画面から→プラグイン→新規追加をクリックして進みます。
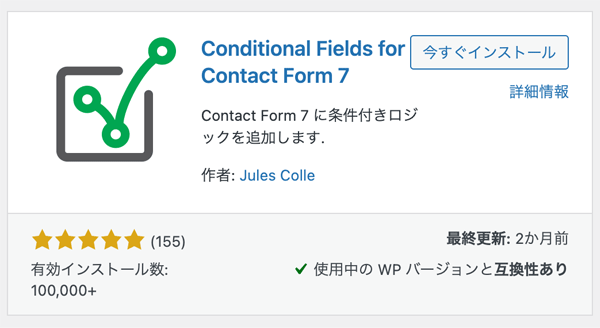
「Conditional Fields for Contact Form 7」を検索します。
以下のプラグインがヒットするのでインストールして有効化します。
※「Contact Form7」が必須になりますので、あらかじめインストールしておいて下さい。
ラジオボタンの値で自動返信メールを切り分ける
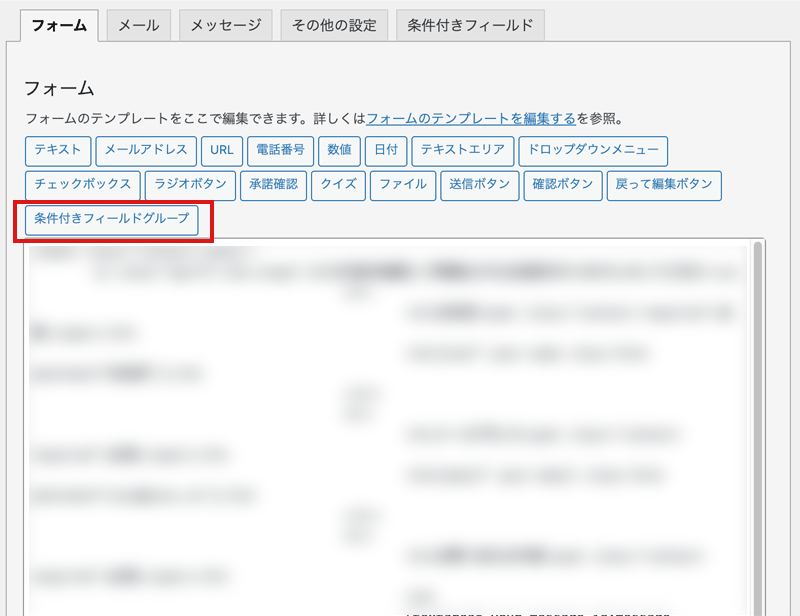
グループを作成
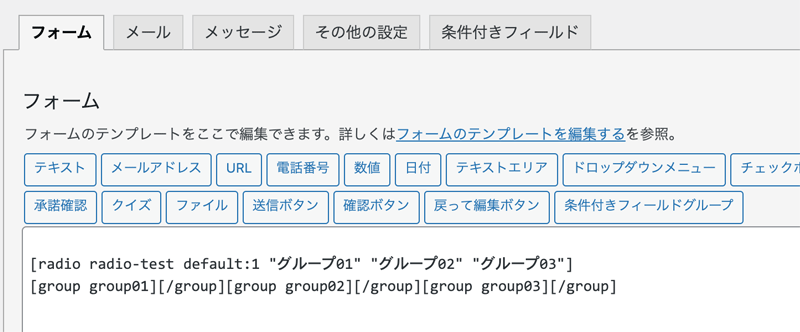
「Contact Form7」編集画面に以下のようなタグが追加されます。
クリックすると以下のような設定画面に入るので任意の名前をつけます。
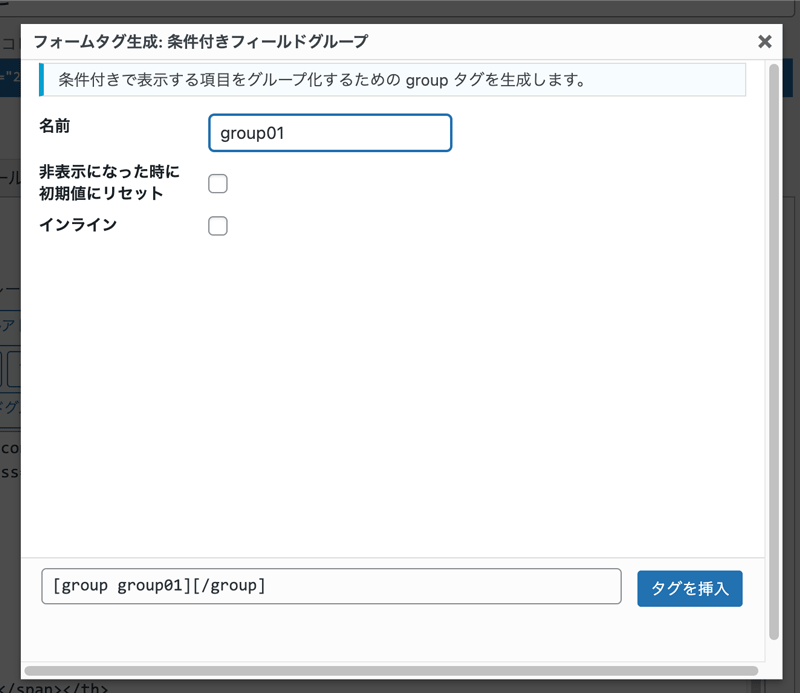
こちらをラジオボタンの下あたりにラジオボタン分用意します。
条件を作成
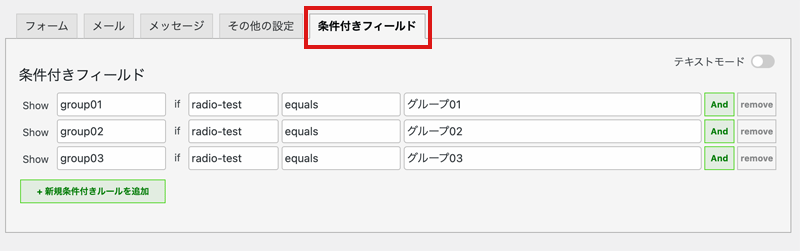
「条件付きフィールド」タブで条件を作成します。
| Show | 先ほど作成したグループ |
|---|---|
| if | ラジオボタン名 |
| equals | ラジオボタンのオプション |
自動返信メールの設定
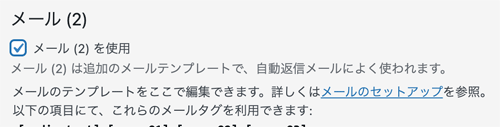
「Contact Form7」で自動返信メールを使用するには、メールタブ内の「 メール (2) を使用」をチェックします。
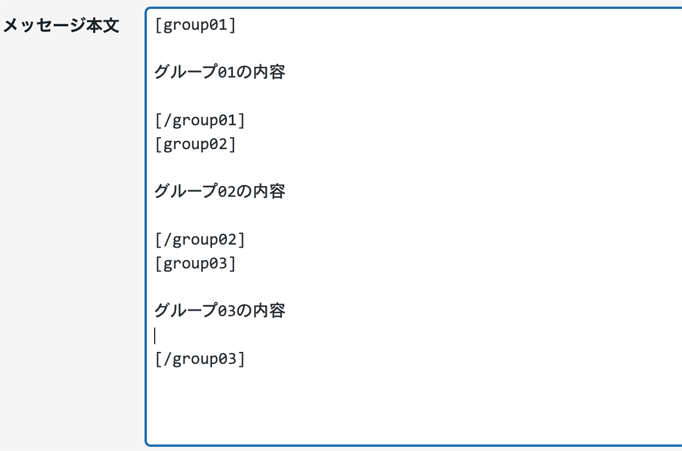
作成したグループごとに返信内容を記述します。
以上が「Conditional Fields for Contact Form 7」で自動返信メールの内容を切り替える方法です。
まとめ
今まで返信内容によってフォームを複数用意していたりしたので、このプラグインを見つけたときは感動しました。
しかも簡単な設定で、色んな条件分岐もできるのでフォーム作成の幅がぐんと広がった感じです。
ぜひ試してみて下さい。